Ouachita Observatory
AllSky Enclosure
ALLSKY ENCLOSURE

3D-Printed AllSky Camera Head

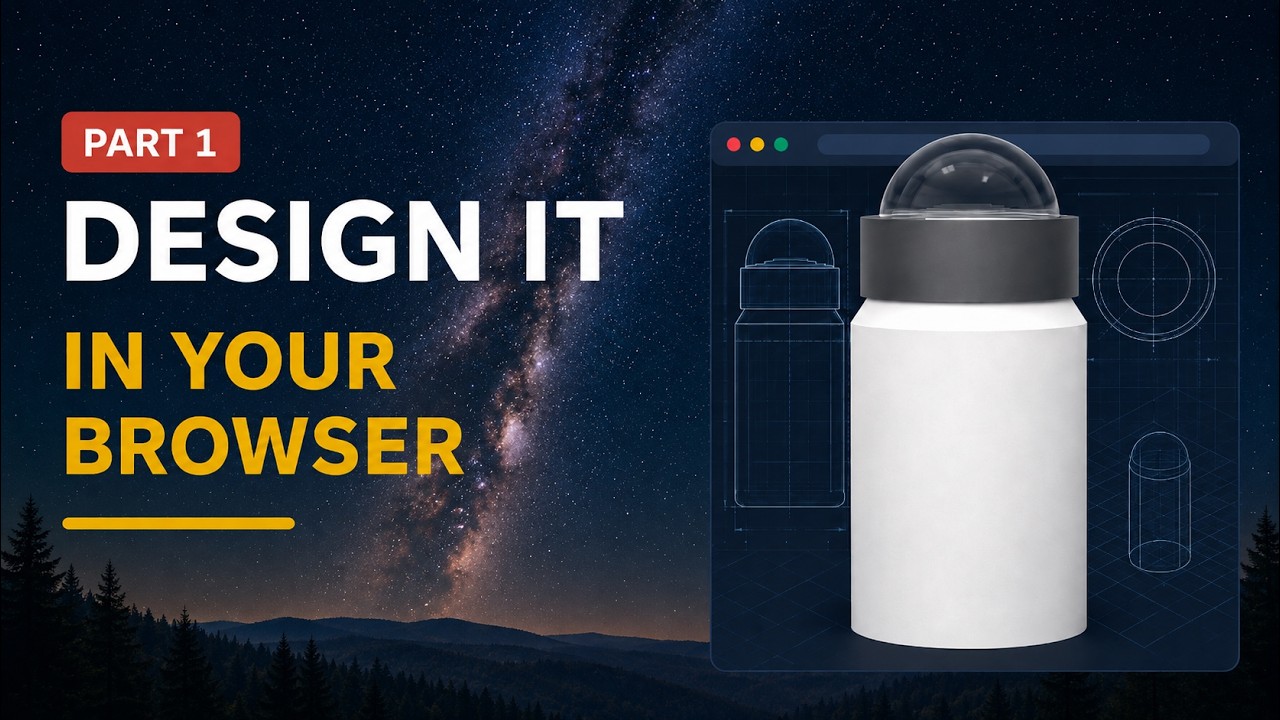
A modular, weatherproof housing for an all-sky camera — and a browser app, Ouachita SkyForge, that generates print-ready STLs for it. Pick your camera, turn a few knobs, download, and print. Built for dark-sky sites and hands-off operation in the Ouachitas.

At a glance
The enclosure system
Two bodies
Standard Ø120 · Tall Ø140 (254 mm)
Cameras
ASI533 · ZWO pucks · Player One · RPi HQ
Joints
3-start threads + O-ring / TPU seals
Material
ASA (UV + heat); PETG in shade
Design goals
What the housing had to do
The head is designed around a handful of non-negotiables: it has to survive the weather, keep the dome clear, fit whatever camera you own, and come apart by hand for service — all while printing on a hobby-sized machine.
Requirements checklist
  • Weatherproof: threaded cap with an O-ring face seal and a rain drip-skirt
  • Dome kept clear with a screw-on dew-heater ring near the glass
  • One housing, many cameras — a drop-in cradle per camera family
  • Tool-free assembly: everything screws together and apart by hand
  • Prints within a 254 mm build volume, mostly support-free
  • A sealed, no-vent option for cold / snowy climates
Two tube systems
Standard vs Tall
Standard is the compact Ø120 body for a camera and a couple of small stick-on boards, mounted on a 2″ pole. Tall is the belled Ø140 tower — the full 254 mm limit — sized for a camera plus a whole equipment stack (Raspberry Pi, power board, thermostat, buck, PWM, and a 60 mm fan) riding inside.
Dimensions
Standard body
Ø120 outer, Ø113 bore, 2″ pole socket
Tall body
Ø140 barrel → Ø120 collar, 254 mm total
Cap
dome hole Ø98, dome seat Ø110 × 2 mm, drip skirt
Thread
3-start, 8 mm pitch — about half a turn
Cap gasket
Ø120 OD × 3.1 cord O-ring (or printed TPU)
Standard and tall enclosure bodies
/img/build/allsky-systems.png
Camera support
A cradle for each family
Each camera drops into a collet cradle sized for its body. The key number is the lip height — the rim above the seat your lens must clear to see out. Measure from the back of your camera to the front of the lens and make sure it exceeds the lip. Other vendors with round cameras can be used by adjusting cradle grip bores in the designer.
Cradles
ASI533MC-Pro
grip Ø77.7 · lip 35 mm · tall dew tray
ZWO puck (676 / 585 / 178)
grip Ø61.7 · lip 30 mm · side-USB channel
Player One (Neptune-C / Mars-C)
grip Ø65.7 · lip 28 mm · corner collet
Raspberry Pi HQ
flat plate, 30×30 M2.5 standoffs, C/CS lens
Parts & how they fit
Everything screws together
The stack
  • Cap — twist-off dome cap with an O-ring seal and a rain drip-skirt that hides the vents.
  • Tube — the body: a matched 3-start thread up top, and the pole socket (Standard) or a threaded bottom insert (Tall).
  • Cradle — the drop-in camera holder; screws into the tube and carries the camera up to the dome.
  • Dew Ring Tray — screws onto the cradle top and holds the dew-heater ring near the glass. Two heights: a common one, and a taller one for the ASI533.
  • Seals — stock O-rings, or print-your-own TPU alternatives.
Exploded view of the enclosure parts
/img/build/allsky-exploded.png
Ventless option
Dew, rain, and cold climates
The default head breathes through hidden vents under the drip skirt, with a dew-heater ring keeping the dome clear. For cold, snowy sites there's a Ventless unit option that closes every vent and instead adds a Gore/PTFE breather. I have not pressure tested this build, so I cannot say that it is air tight.
Sealed-unit notes
  • All vents removed; a downward M12 breather boss added on the base (fit a Gore/PTFE plug — e.g. Bimed MBVPG-13/23-WNL)
  • A plain M12 cable gland for a single sealed power cord
  • Run it with the dew-heater ring + a desiccant pack; the tall build runs without the fan
  • Print enough perimeters (or a thin epoxy wash) since FDM layer lines are slightly porous
Printing & materials
What to run and how
Recommendations
Tube & cap
ASA (UV-stable), light color
Dew ring tray
ASA (holds heat from the resistors)
Shaded / internal parts
PETG OK; avoid PLA outdoors
Orientation
tube rim-down, cap dome-down, cradle floor-down
Supports
mostly support-free in those orientations
Ouachita SkyForge
The parametric generator
Instead of editing in CAD, SkyForge is a browser app: pick a tube system, pick a part, turn a few plain-language knobs, and hit Generate. A live 3D preview shows the model, the app checks it's watertight, and you download a print-ready STL. Fields that don't affect the selected part hide themselves, every knob shows its default, and the app blocks impossible values before you build.
Workflow
  1. Choose Standard or Tall
  2. Pick the part — cap, tube, your camera's cradle, dew ring tray, or a seal
  3. Adjust any settings (length, camera seat, dew-ring height, sealed unit…)
  4. Generate → confirm watertight: yes → Download
  5. Print — and remember to match a tube and its cradle at the same length
Open SkyForge
The Ouachita SkyForge app
/img/build/skyforge-app2.png
Walkthrough video
Using SkyForge end to end
SkyForge build series
Open SkyForge